IMPORTANT NOTICE: This webpage is designed to provide steps that will help you through the initial setup of the Okta application on your devices for secure access and single sign-on (SSO) functionality. Okta will replace your current multifactor authentication (MFA) application and will be used for access to Email, Banner, Blackboard, eCampus, and more.
Signing in to Okta
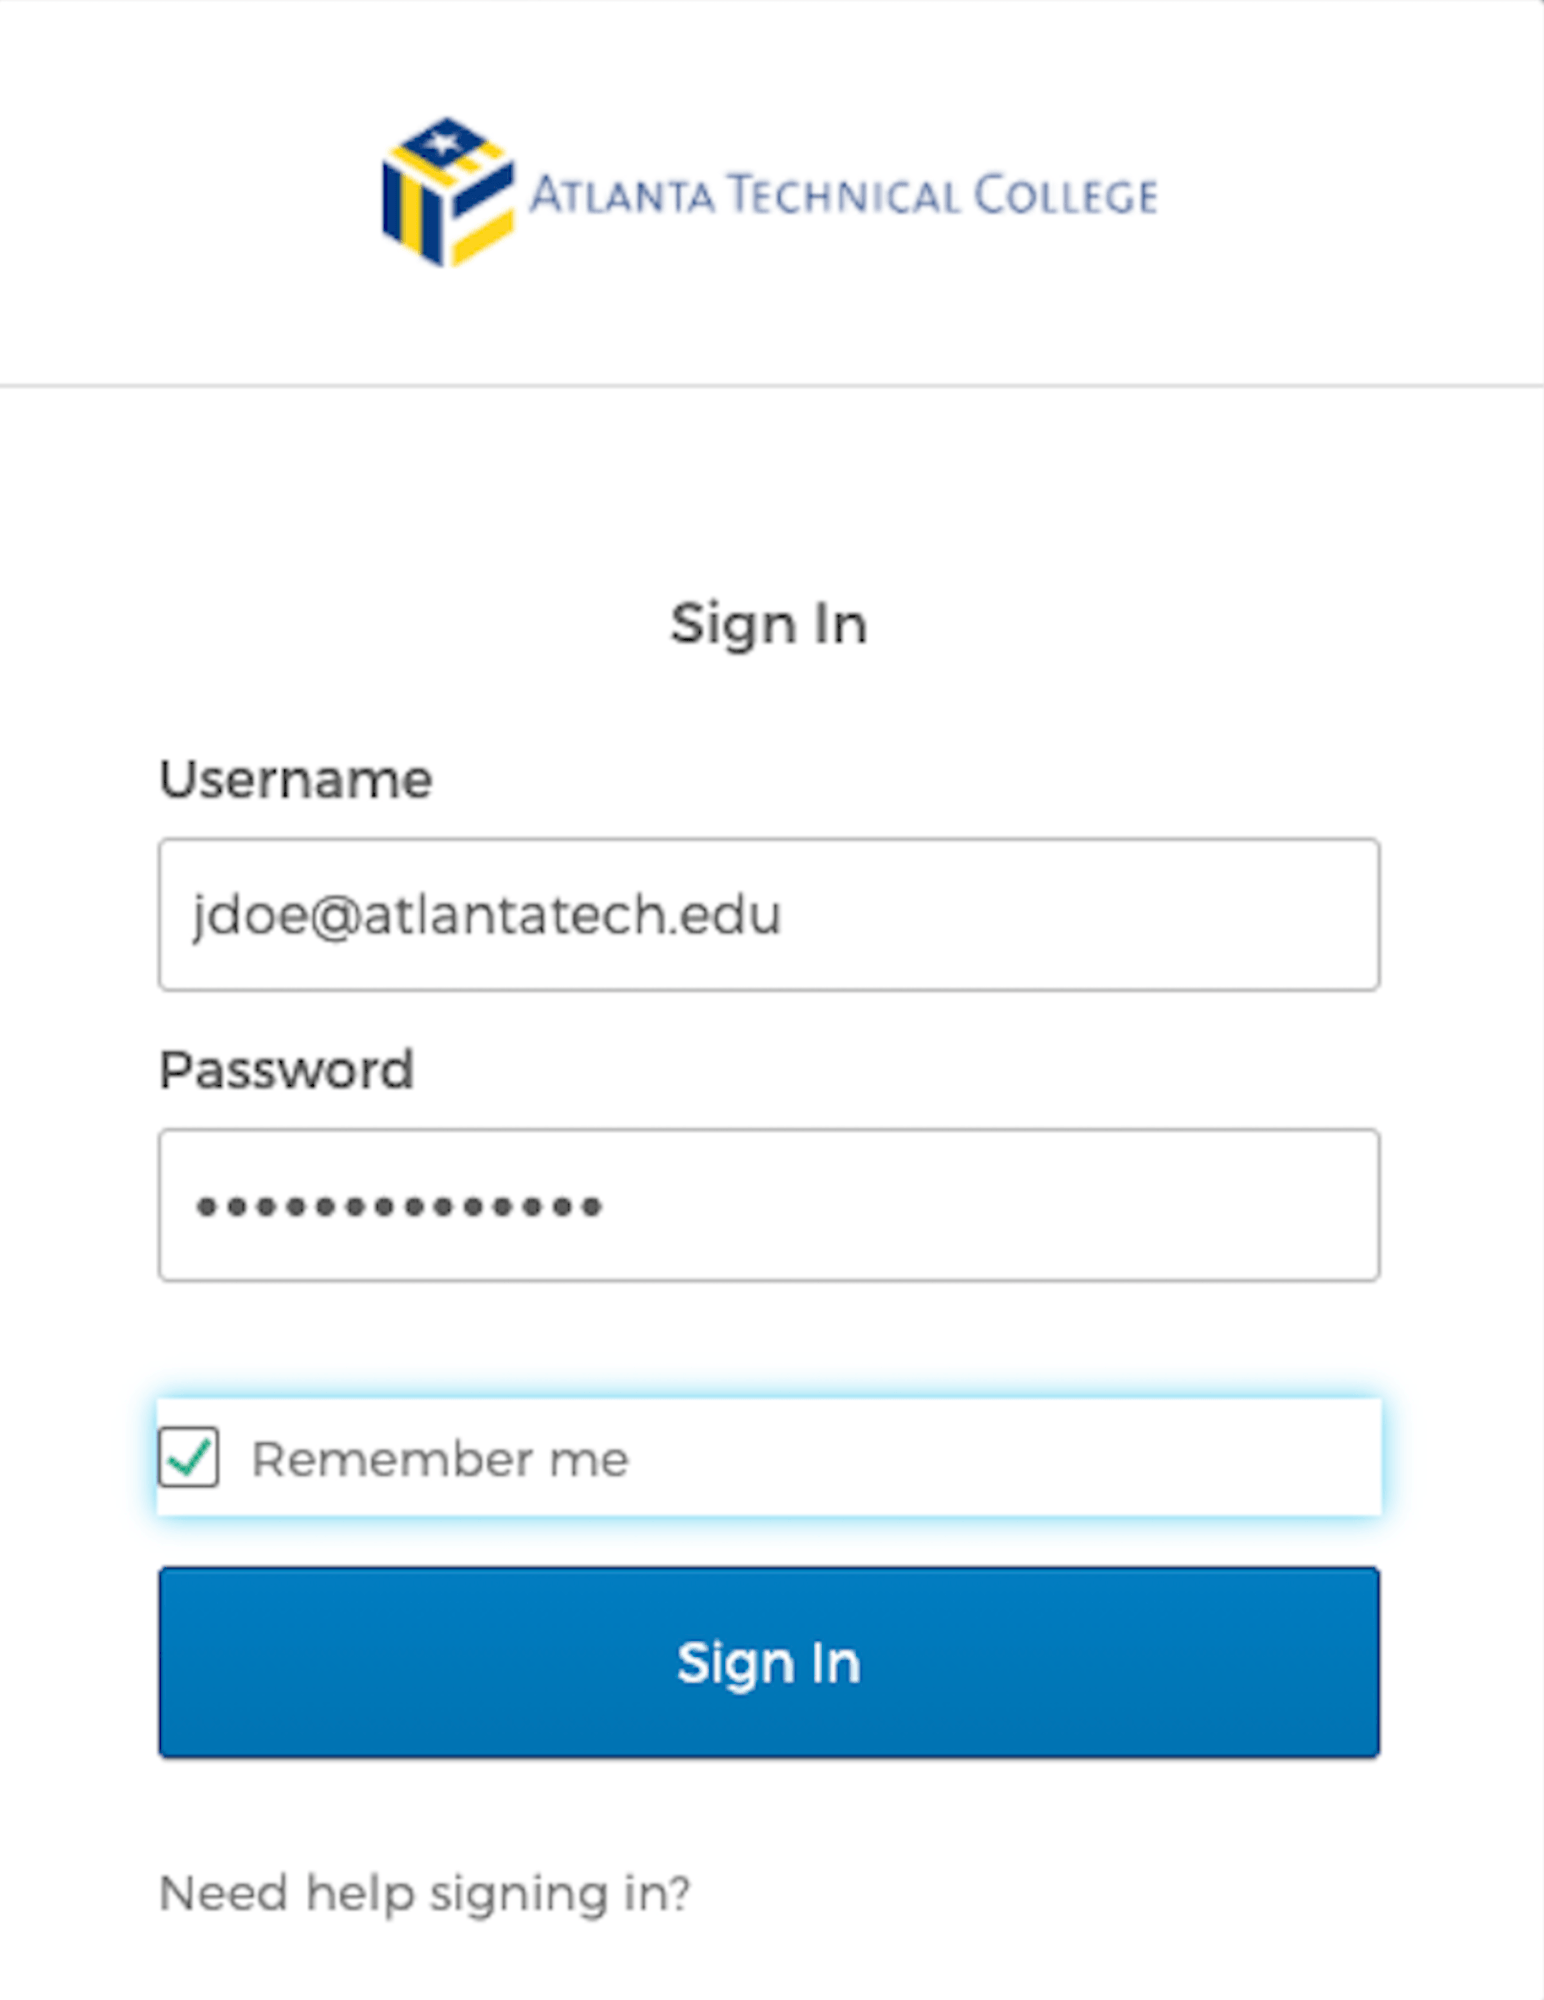
Step 1: Click the link https://atlantatech.okta.com to access the Okta landing page. Your email address and password will grant you access to begin the installation process.
Step 2: Enter your email address and password. Then click the "Sign In" button.
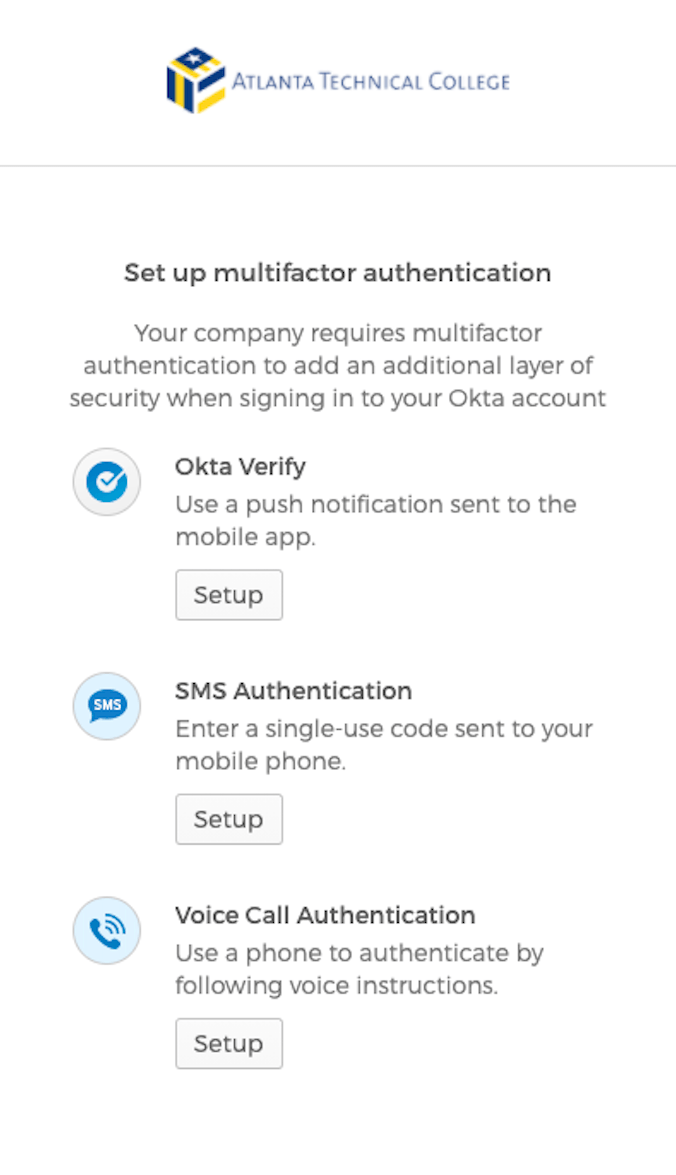
Multifactor Authentication Setup
Step 3: On the set up multifactor authentication page, click the "Setup" button under "Okta Verify."
Step 5: Once the Okta Verify app is downloaded, open the app, select "Add an account", and then scan the QR code on your screen.
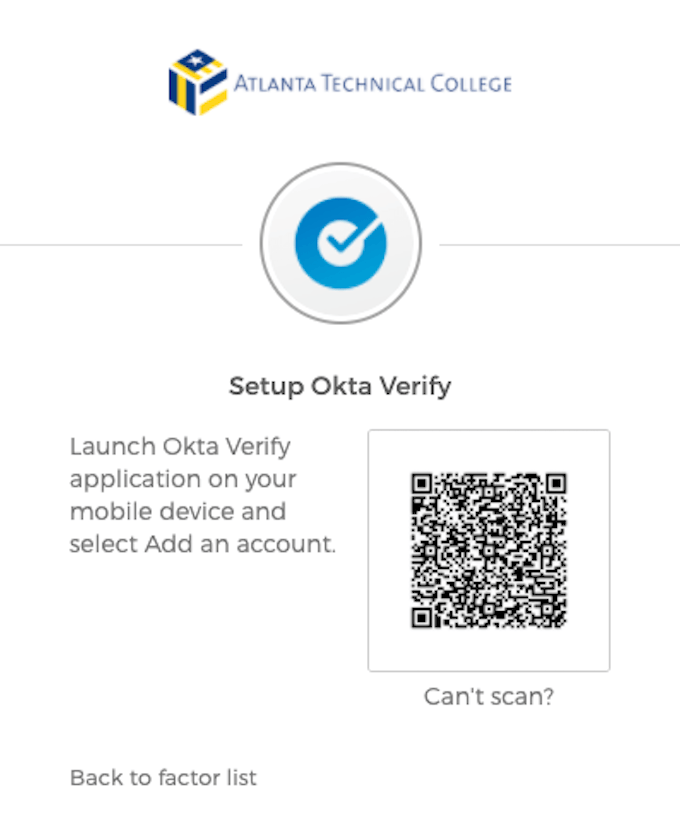
*Unable To Scan QR Code?
NOTE: If you are unable to scan the QR code, skip to Step 6 and click setup under SMS authentication.
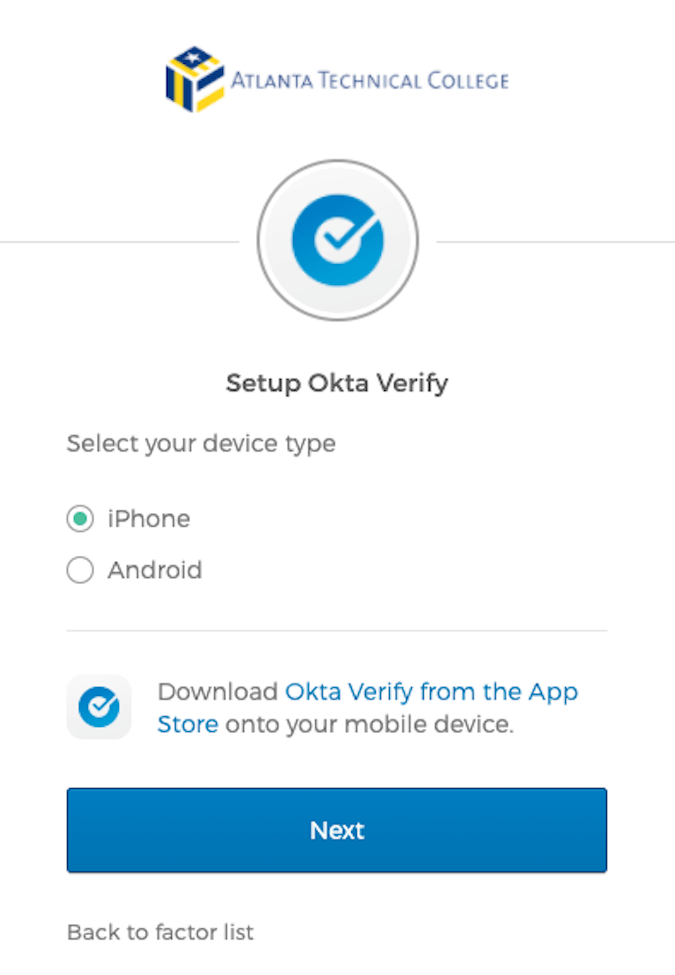
Step 4: Next you will go through the installation steps for your type of phone. Choose either iPhone or Android to begin the process. ***Be sure to download "Okta Verify" from the App Store onto your mobile device before clicking next.
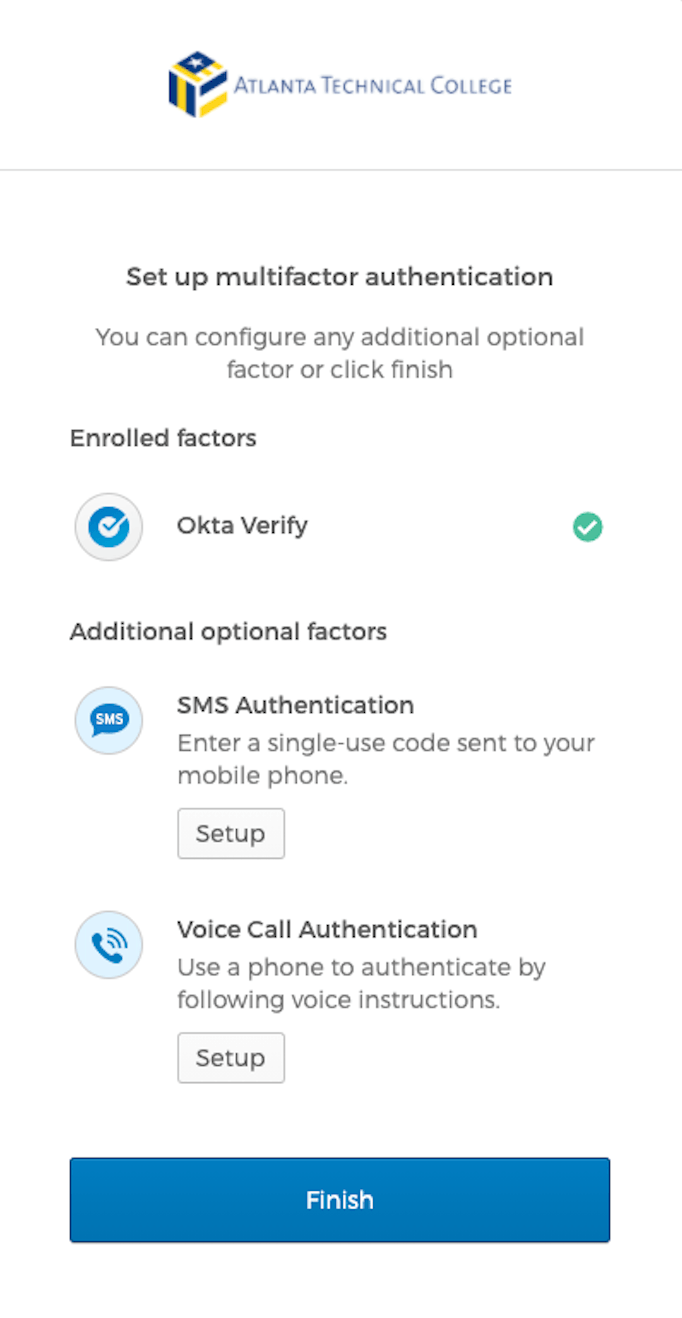
Step 6: When the Okta Verify setup is finished, click the "Setup" button under "SMS authentication."
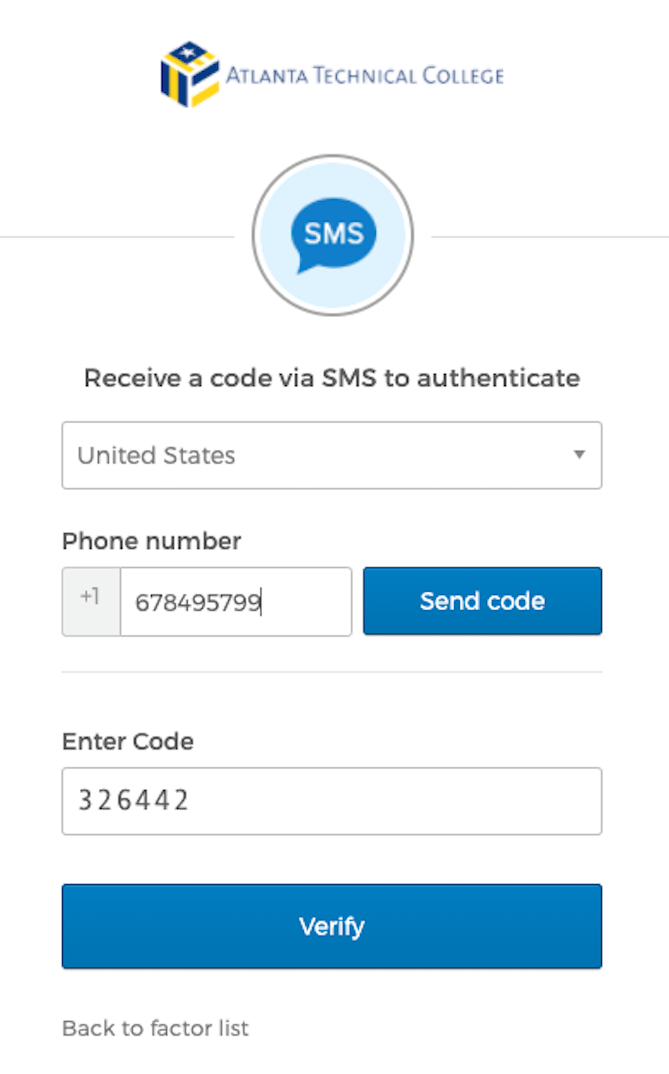
Step 7: Enter your phone number and click the "send code". Enter the code that you receive in the text box and then select the "Verify" button.
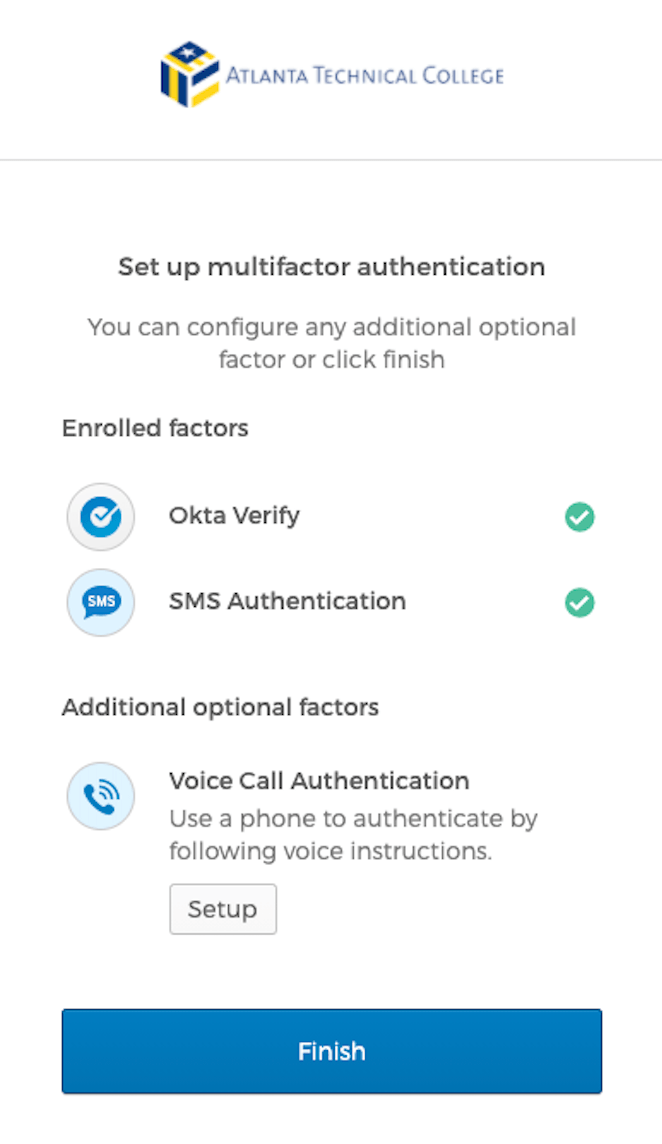
Step 8: Click the "Finish" button to complete the installation and setup process.
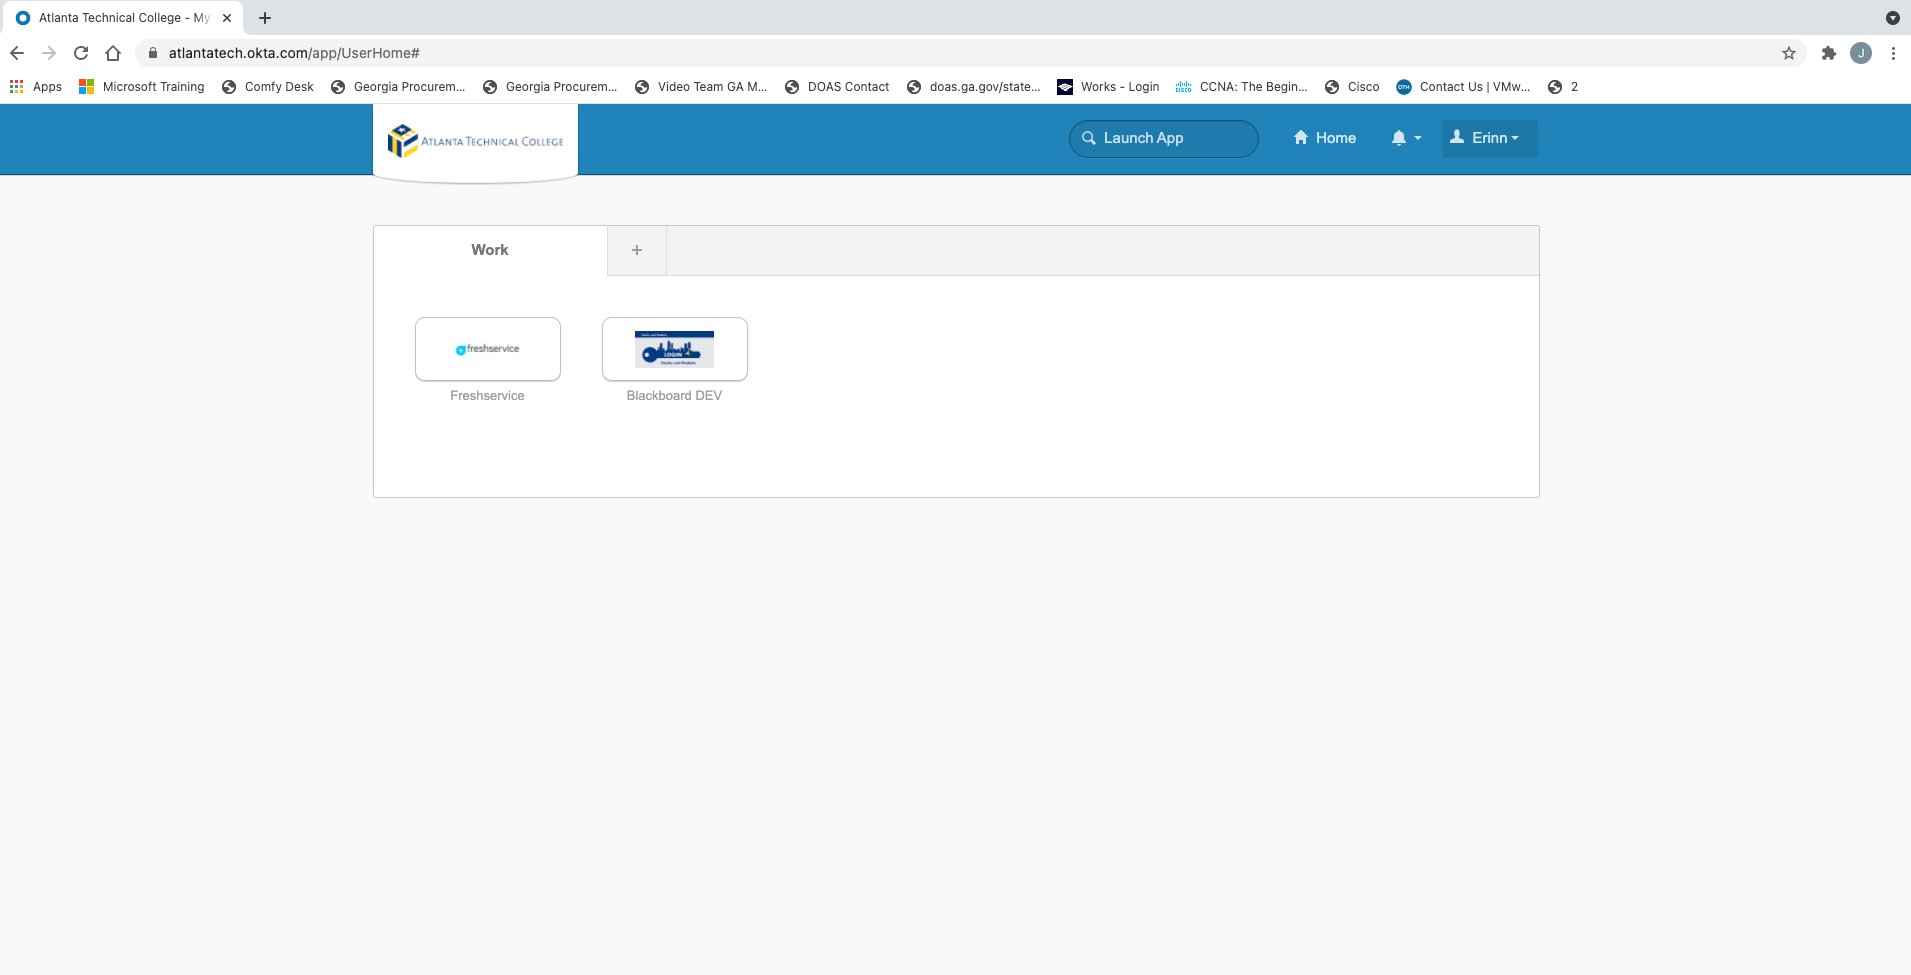
Step 9: When complete, you will be taken to the Okta landing page.
Still having trouble?
Fill out the form below to get assistance.
